
790 字
4 分钟
Debian 12 安装记录:Btrfs 子卷和编译新内核

安装准备
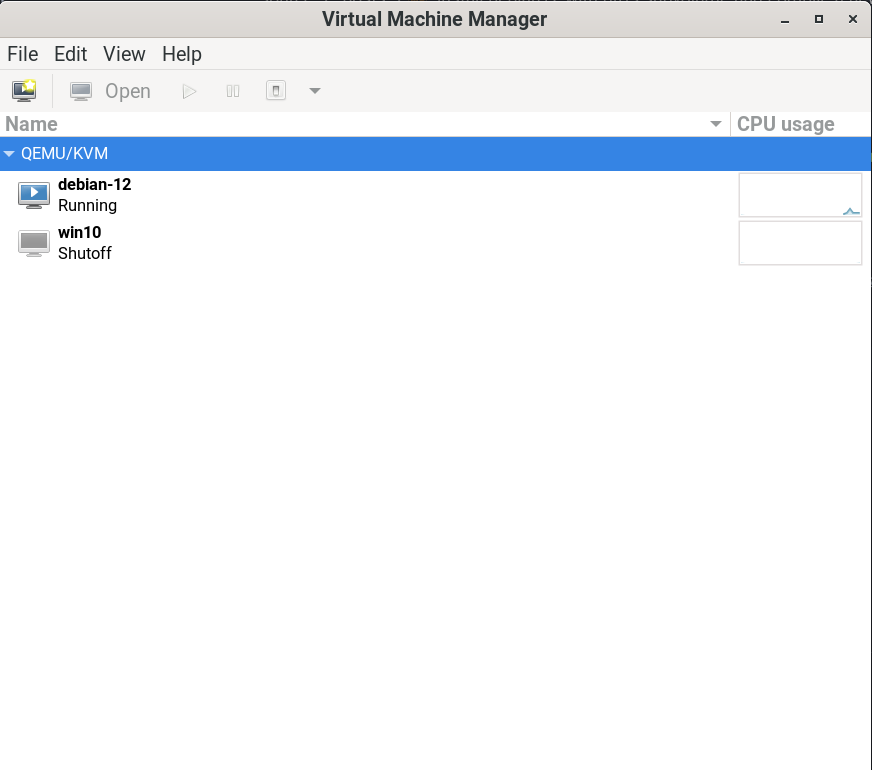
最近将操作系统从 Fedora 38 换到 Debian 12 了,我又想体验新内核,所以记录一下安装过程和新内核的编译过程。 使用虚拟机 virt-manager 复刻安装过程。
- 操作系统:Debian 12
- 内核版本:Linux 6.1.10-amd64
- 桌面环境:Gnome 44
- u 盘启动:ventoy 1.0.93
- 系统镜像:debian-12.0.0-amd64-DVD-1.iso
系统安装
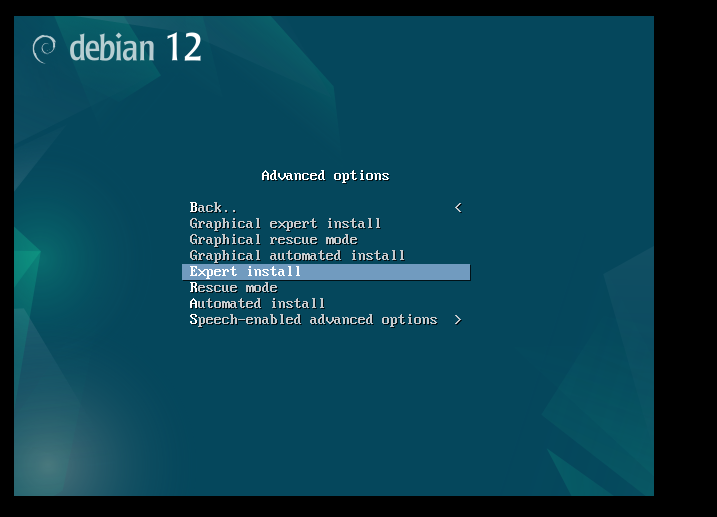
首先启动系统镜像选择 Expert install
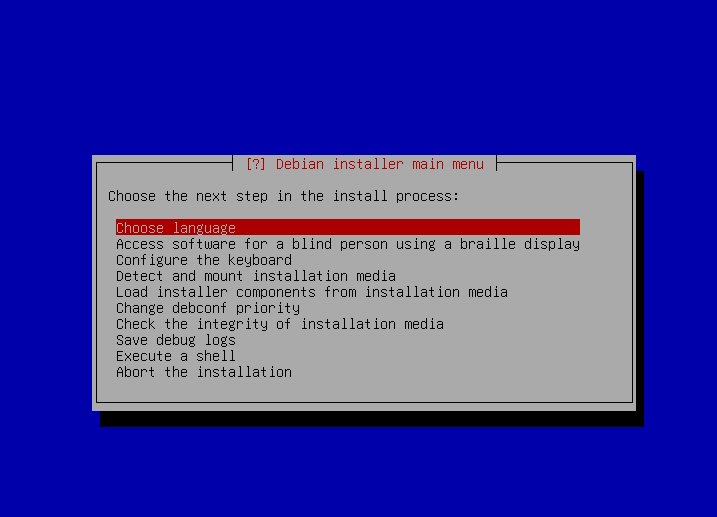
进入下面这个界面之后前面根据自己需求安装,之后来到磁盘分区界面。
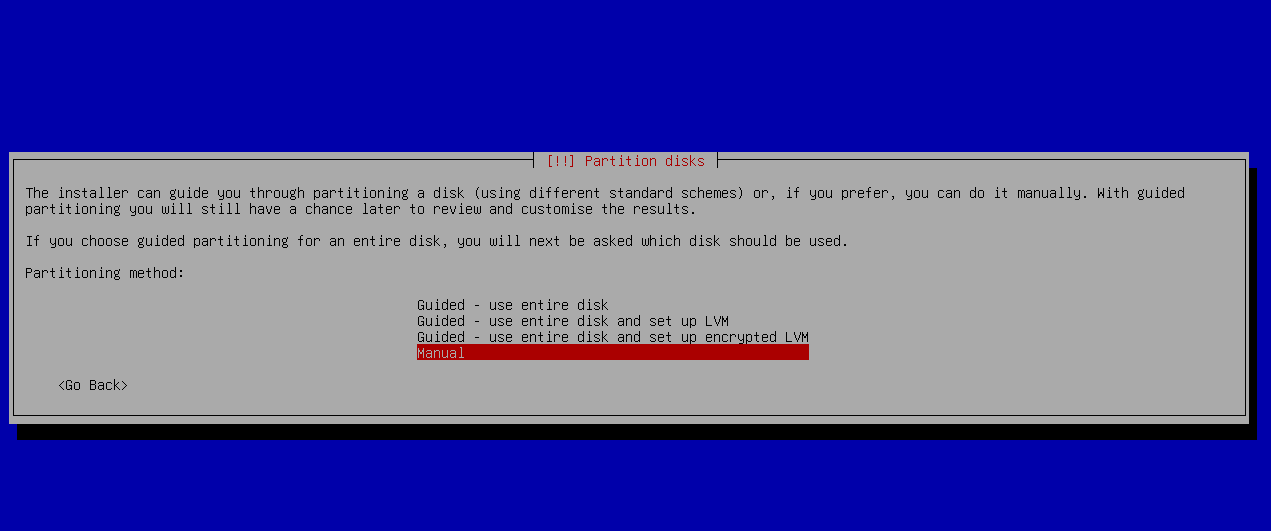
选择 Maual
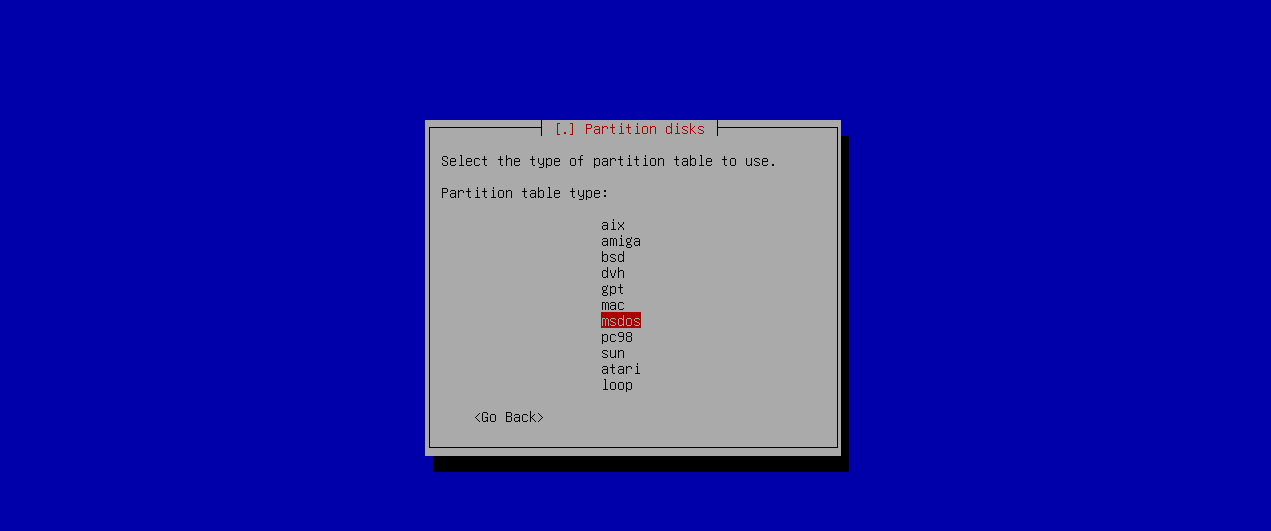
选择磁盘后进入选择磁盘分区表类型界面,UEFI 启动方式的机型选择 gpt ,传统方式启动的选择 msdos
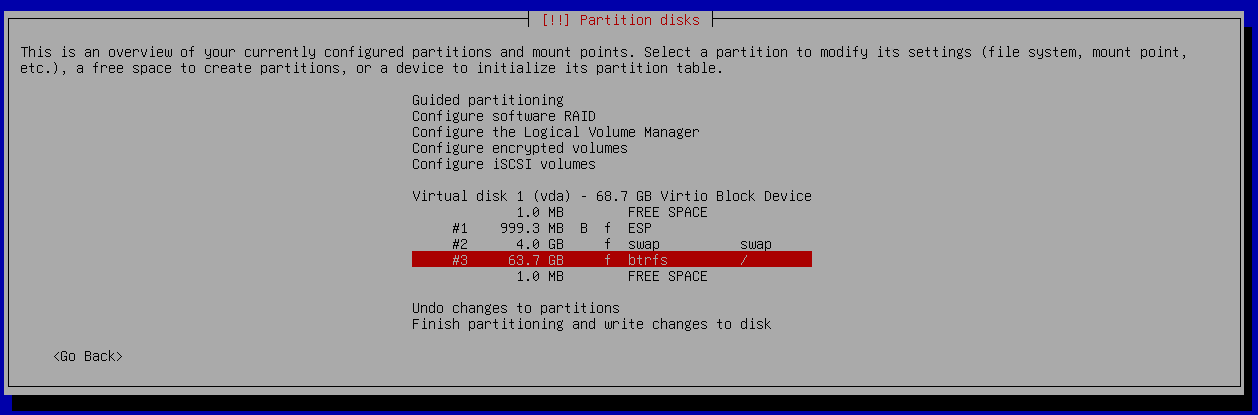
磁盘分区我的方案(UEFI)如下:
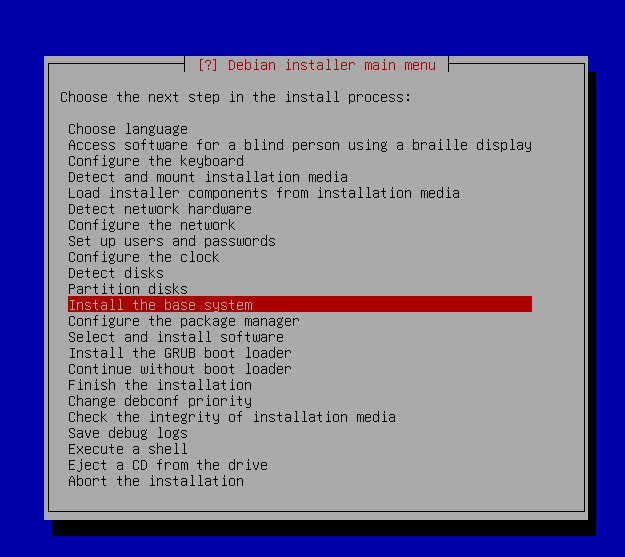
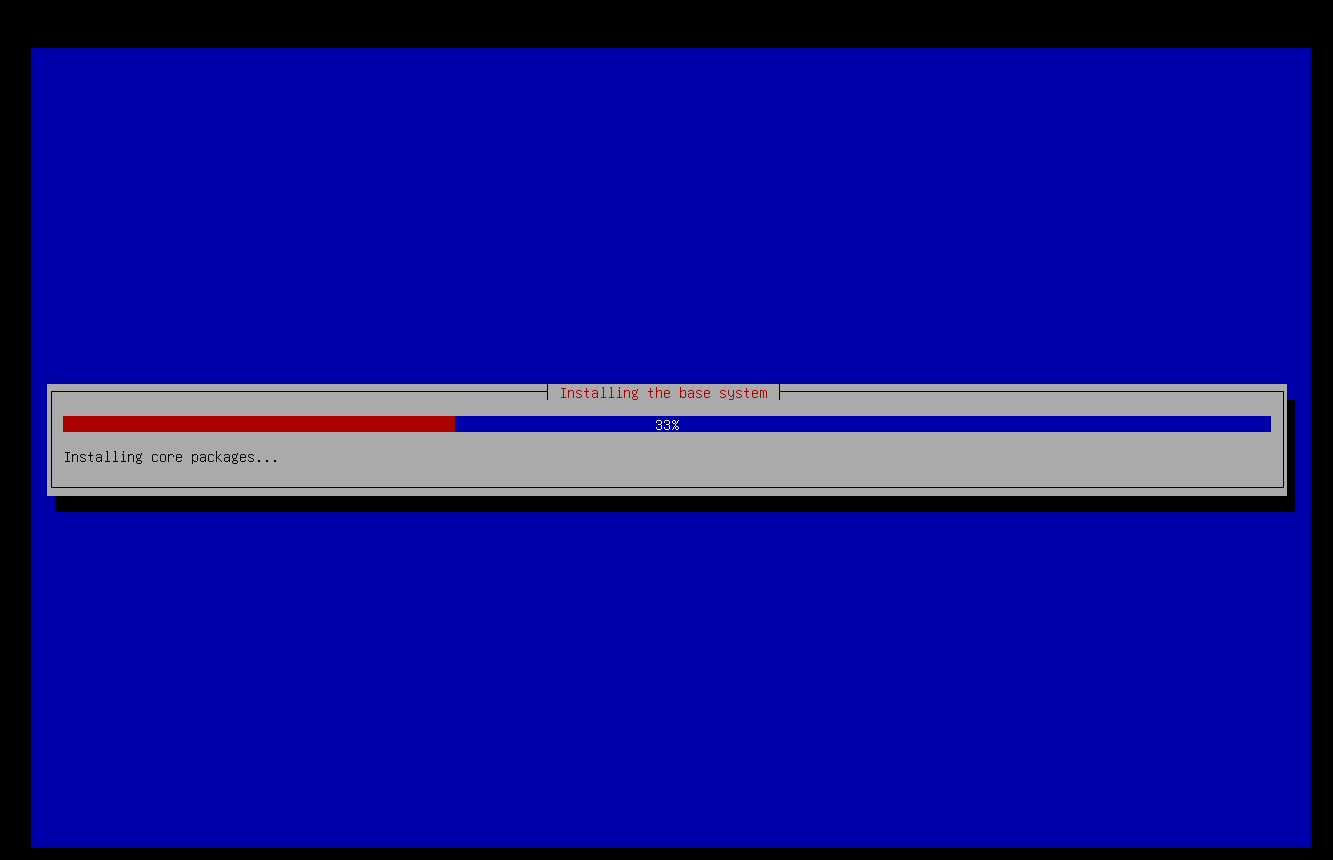
然后把磁盘改动写入,完成之后停在步骤install the base system这里。按键盘的Ctrl+Alt+F2进入终端。
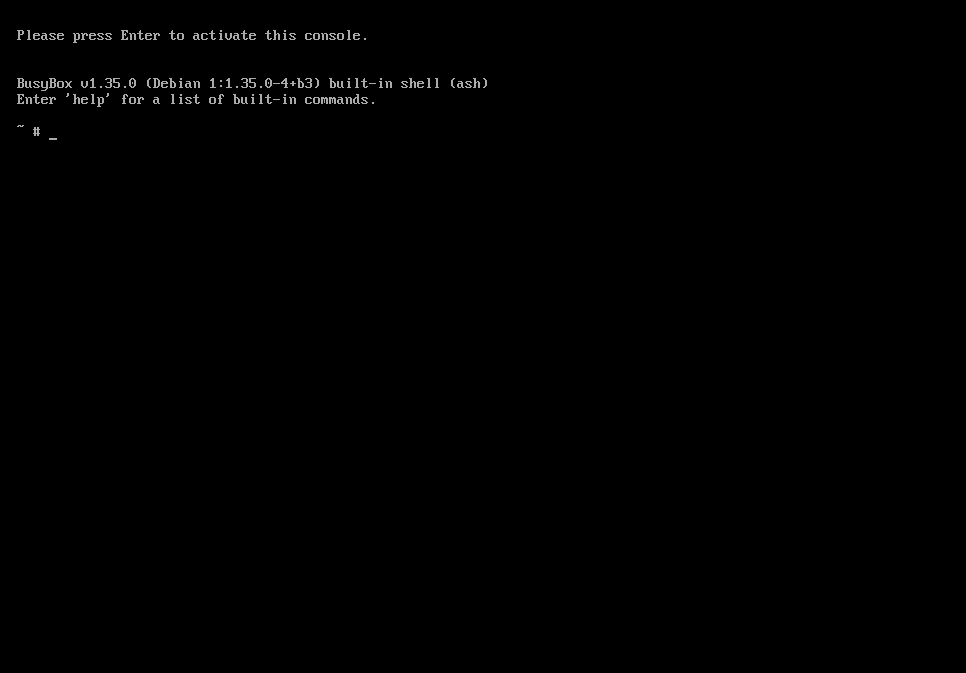
然后使用以下命令(图片):
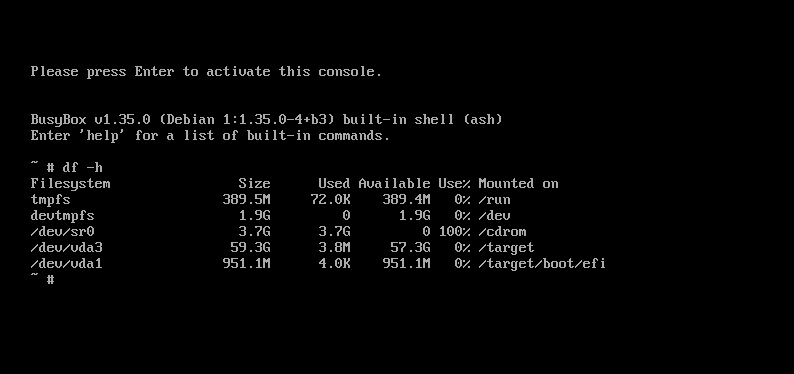
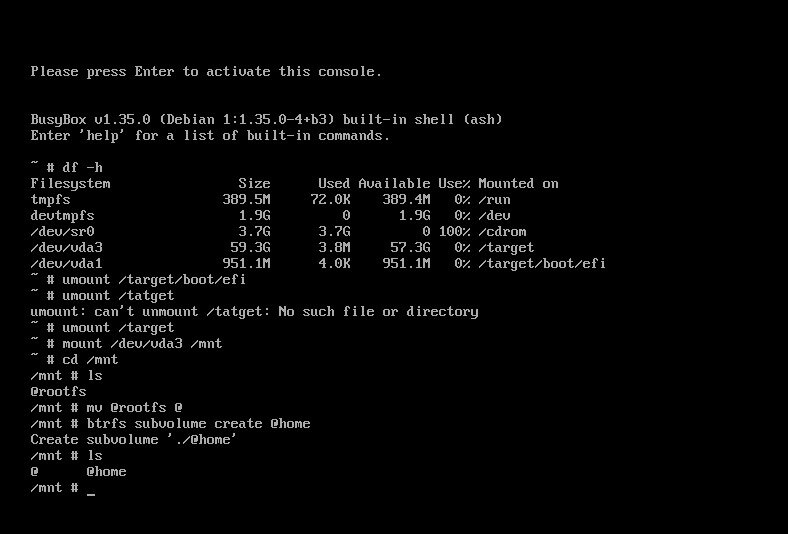
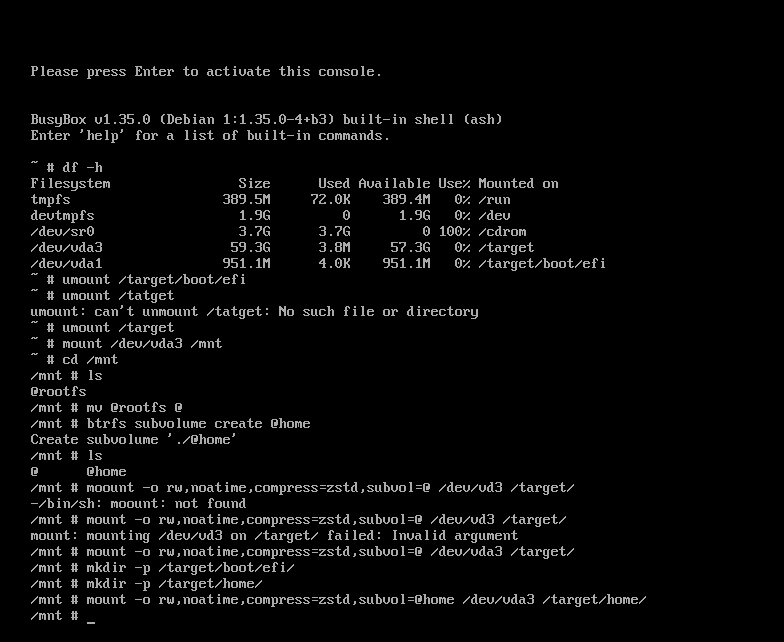
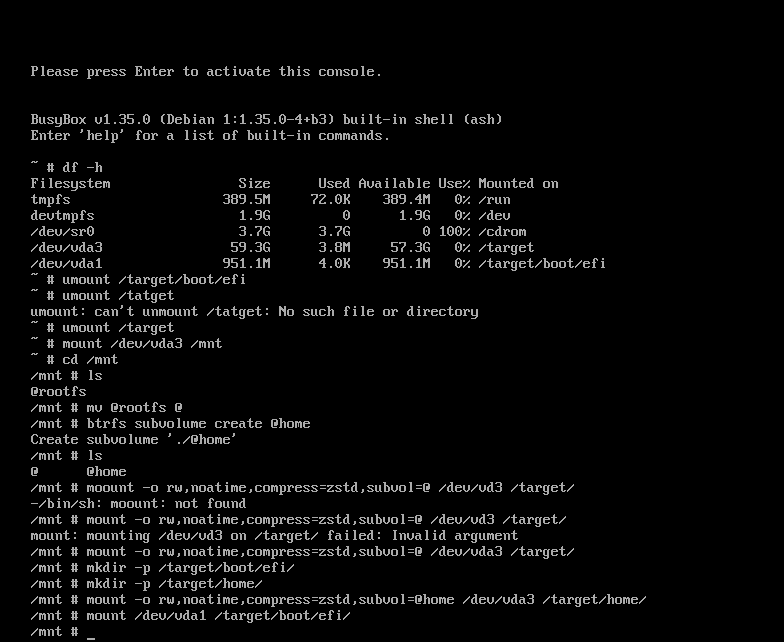

文字详情:
#查看分区挂载情况df -h
#卸载 target 分区umount /target/boot/efiumount /target
#挂载 mntmount /dev/vda3 /mnt
#创建子卷cd /mntmv @rootfs @btrfs subvolume create @home
#现在有两个 btrfs 子卷 @ 和 @home,用于支持 timeshift 备份。
#挂载子卷到分区(图示为虚拟机配置,以下为物理机配置,nvme硬盘)
mount -o rw,noatime,space_cache=v2,compress=zstd,ssd,discard=async,subvol=@ /dev/nvmexnxpx /target/mkdir -p /target/boot/efi/mkdir -p /target/home/mount -o rw,noatime,space_cache=v2,compress=zstd,ssd,discard=async,subvol=@home /dev/nvmexnxpx /target/home
##将 efi 分区挂载回去
mount /dev/nvmexnxpx /target/boot/efi/
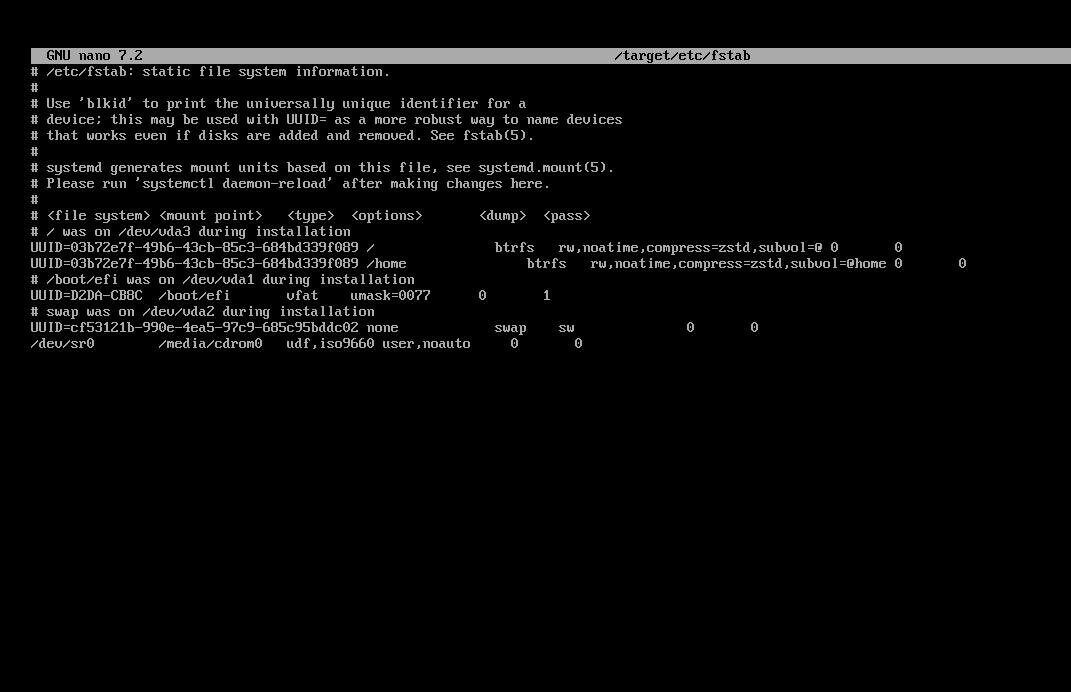
#编辑 fstab
nano /target/etc/fstab
#改成以下这样就可以保存了,使用 nano 按 Ctrl+K 可以剪切那一行,Ctrl+U 粘贴UUID=2fd5d7b2-ceb0-4028-8381-3b38b3dcd658 / btrfs rw,noatime,space_cache=v2,compress=zstd,ssd,discard=async,subvol=@ 0 0UUID=2fd5d7b2-ceb0-4028-8381-3b38b3dcd658 /home btrfs rw,noatime,space_cache=v2,compress=zstd,ssd,discard=async,subvol=@home 0 0然后按Ctrl+Alt+F1回到安装界面
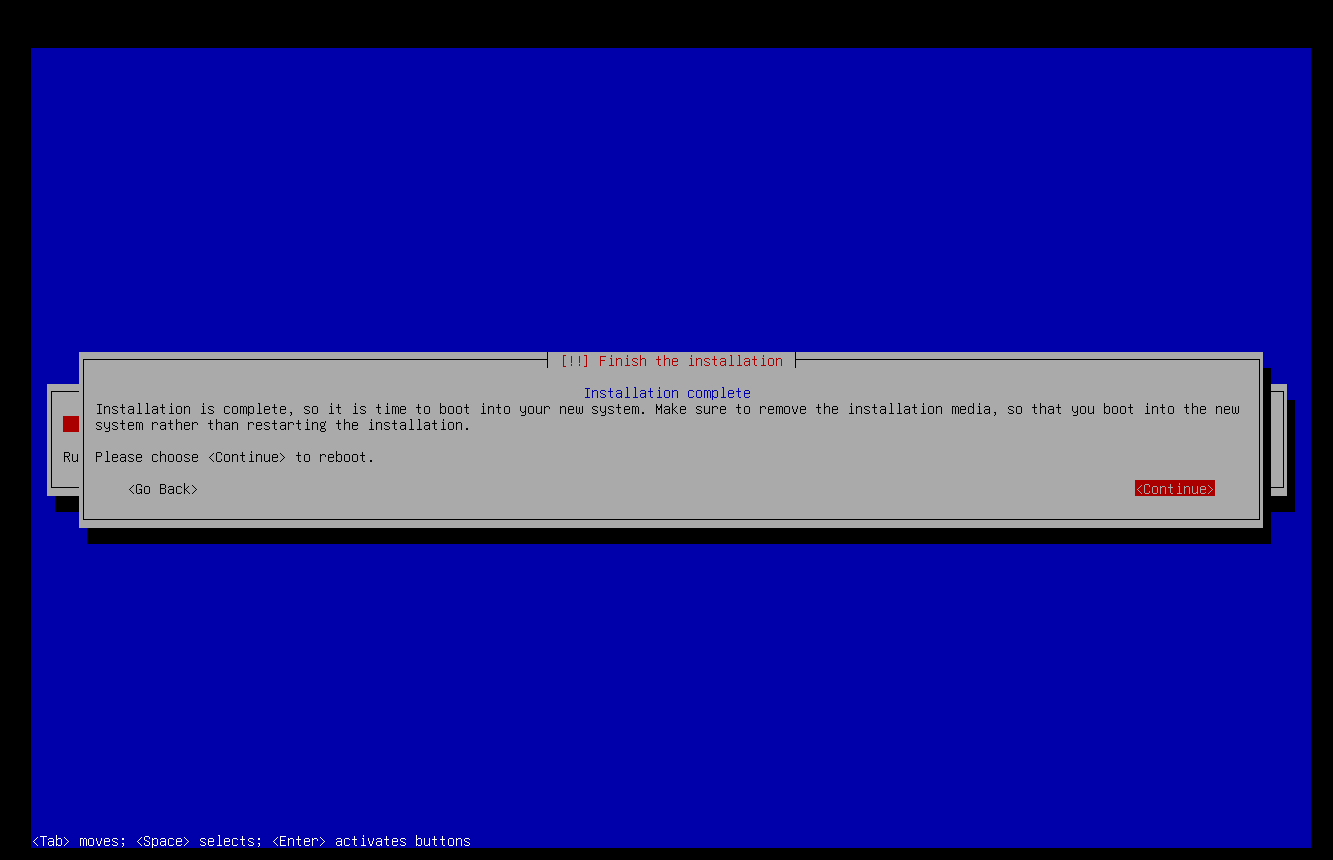
,继续完成剩下的步骤就好了
安装完成
安装软件
配置国内软件源
cd /etc/apt/sudo cp sources.list{,.bak} #备份源文件然后将 CD 源注释掉,加入以下链接:
deb https://mirrors.ustc.edu.cn/debian/ bookworm main contrib non-free non-free-firmwaredeb-src https://mirrors.ustc.edu.cn/debian/ bookworm main contrib non-free non-free-firmware
deb https://mirrors.ustc.edu.cn/debian/ bookworm-updates main contrib non-free non-free-firmwaredeb-src https://mirrors.ustc.edu.cn/debian/ bookworm-updates main contrib non-free non-free-firmware
deb https://mirrors.ustc.edu.cn/debian/ bookworm-backports main contrib non-free non-free-firmwaredeb-src https://mirrors.ustc.edu.cn/debian/ bookworm-backports main contrib non-free non-free-firmware
deb https://mirrors.ustc.edu.cn/debian-security/ bookworm-security main contrib non-free non-free-firmwaredeb-src https://mirrors.ustc.edu.cn/debian-security/ bookworm-security main contrib non-free non-free-firmware然后运行源索引更新,
sudo apt updatesudo apt upgrade安装星火应用商店和 flatpak
使用以下命令编译并安装星火应用商店:
git clone https://gitee.com/deepin-community-store/spark-store.gitcd spark-store./build_and_install.sh使用以下命令安装 flatpak
sudo apt install flatpaksudo apt install gnome-software-plugin-flatpakflatpak remote-add --if-not-exists flathub https://dl.flathub.org/repo/flathub.flatpakrepoflatpak remote-modify flathub --url=https://mirror.sjtu.edu.cn/flathub #国内镜像安装 timeshift 并设置自动备份
使用以下命令安装
sudo apt install timeshift
btrfs 格式的可以设置自动快照备份,方便的很。前提是要创建好前面的两个子卷。
编译新内核
进内核官网下载内核源码: https://kernel.org
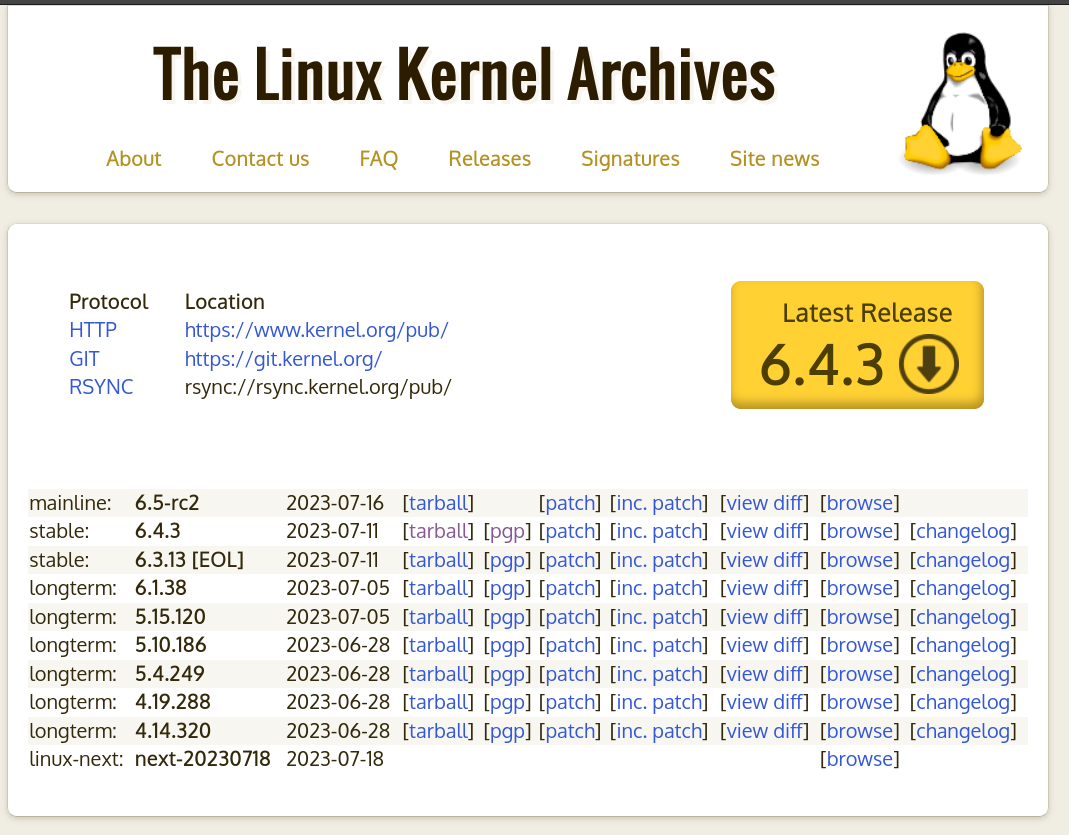
我下载的是6.4.3版本的,就用这个版本编译。
#安装依赖等sudo apt updatesudo apt install sudo apt-get install build-essential libncurses5-dev libssl-dev libelf-devsudo apt install flex dwarves bison rsync
#解压内核
tar xvJf linux-6.4.3.tar.xzcd linux-6.4.3sudo cp /boot/config-$(uname -r) .config #导出当前内核设置到目录下make olddefconfigmake bindeb-pkg #我这里使用 deb-pkg 报错编译完成后就会在内核源码目录的上一级目录下生成内核安装包,安装之后重启就行了。

参考资料
Debian 12 安装记录:Btrfs 子卷和编译新内核
https://encorexin.online/posts/install-debian12-with-btrfs-subvolume-and-compile-a-new-kernel/
评论
评论系统加载失败
无法连接到评论服务,请检查网络连接或稍后再试。